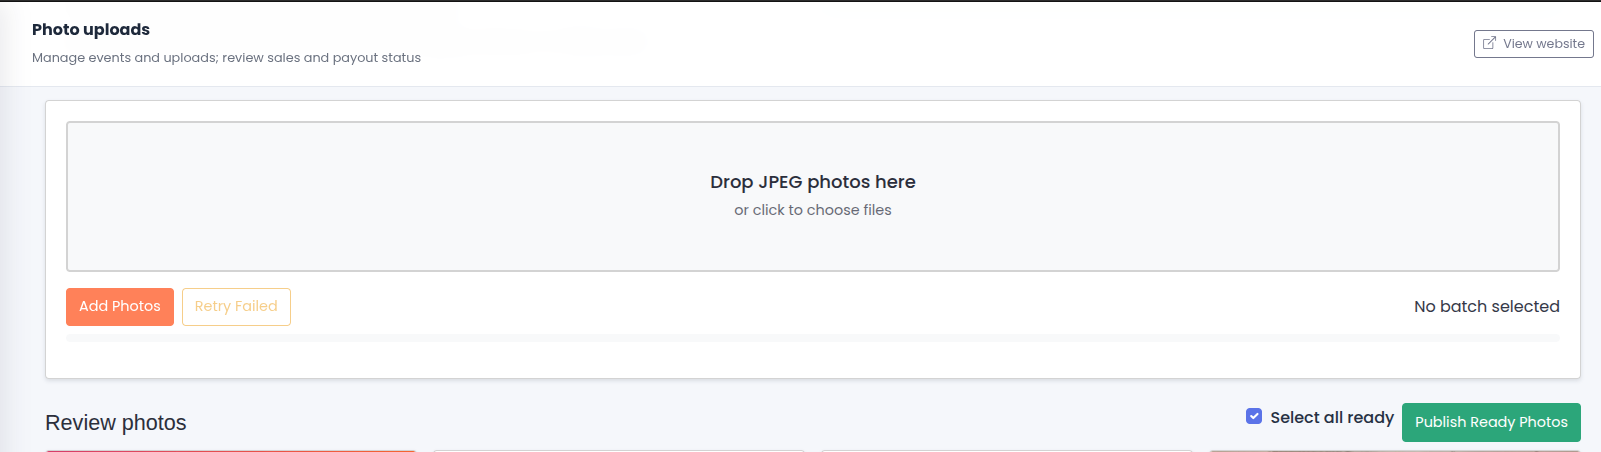


How to Upload Photos
Follow these six steps to add photos to an event gallery.
-
Go to Login
Click Login and sign in with your approved photographer account.
Open Login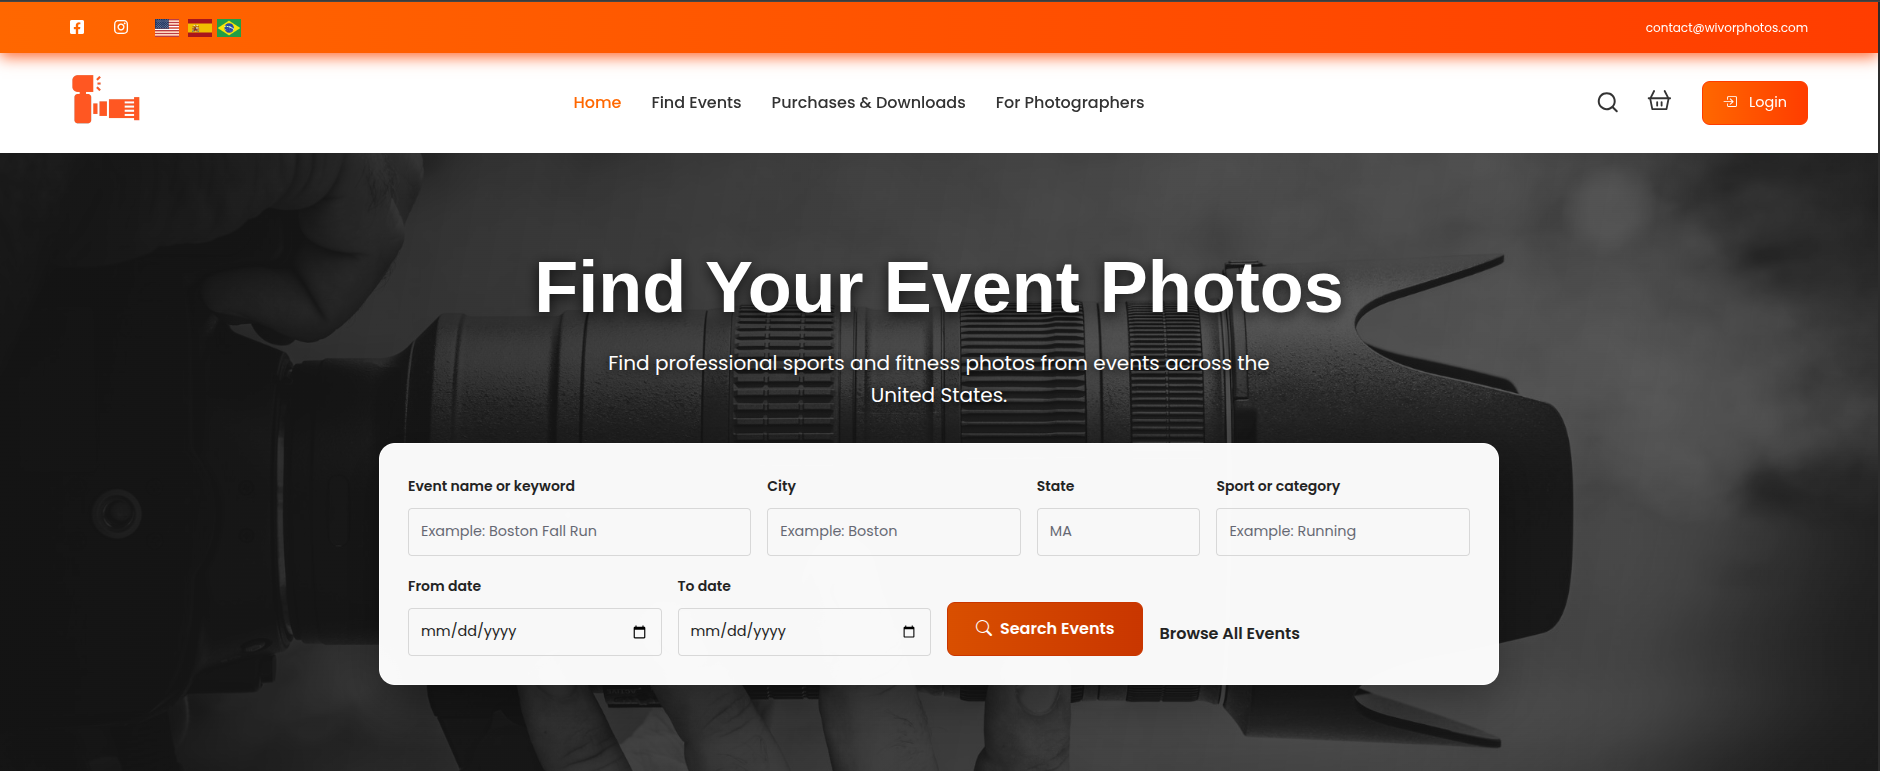
-
Search your events
Open Upload Photos, then search by event name, city, or sport. Find your assigned event and click Upload photos.
Search Events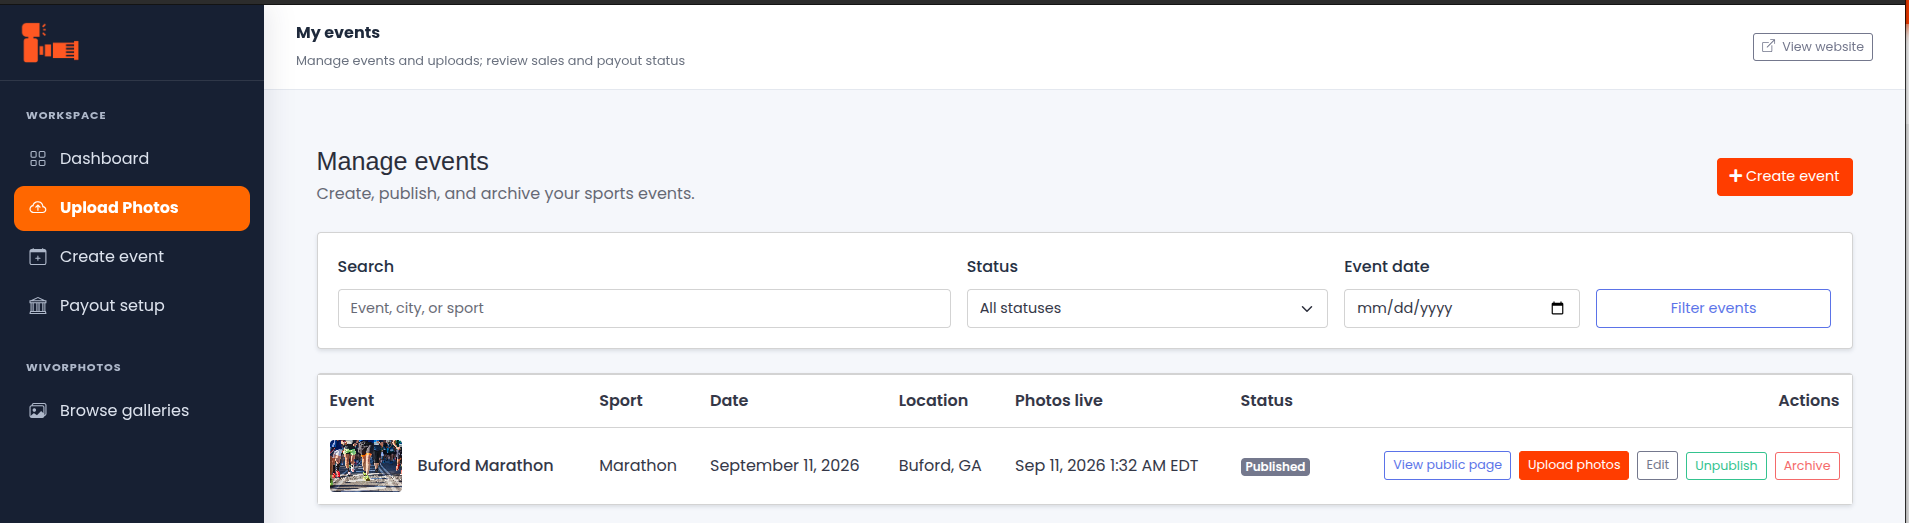
-
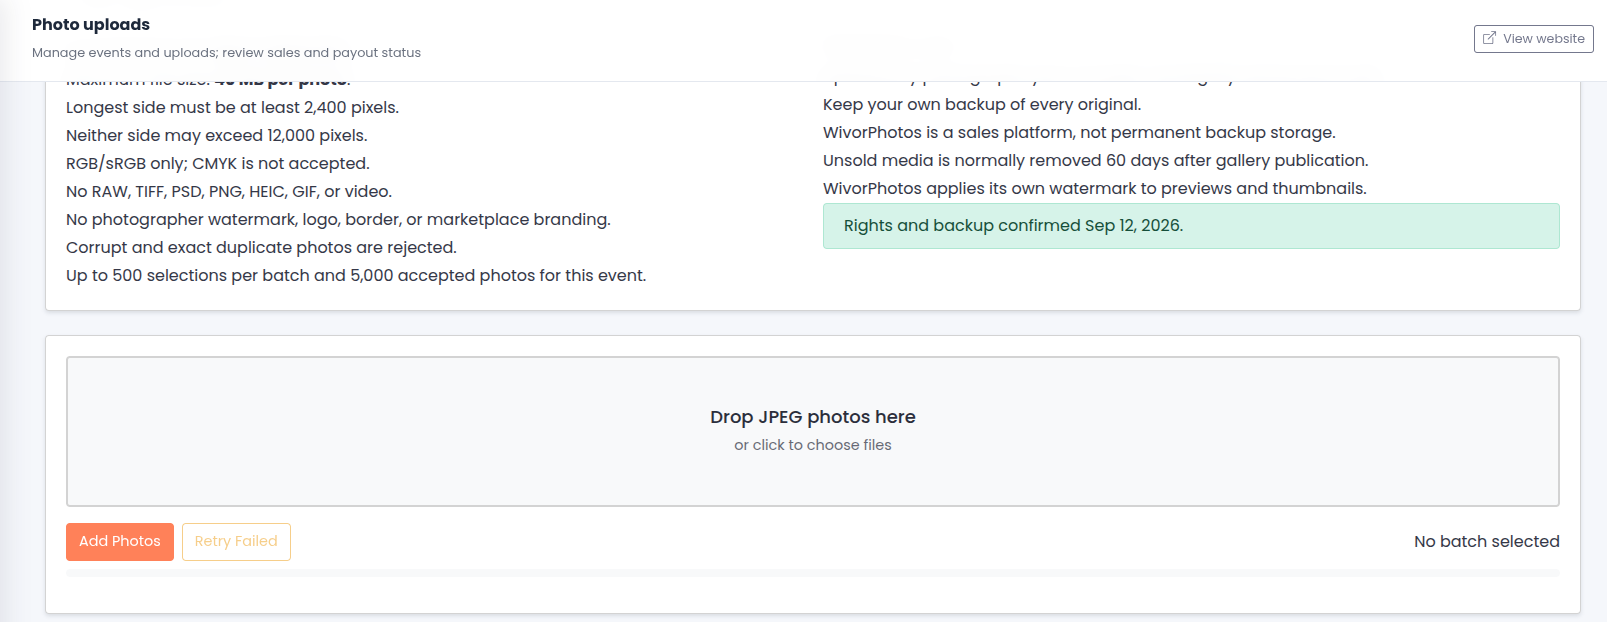
Review the photo recommendations
Read the requirements and confirm that you own or control the photo rights and have kept your own backup.
- JPG or JPEG only, up to 40 MB per photo.
- The longest side must be at least 2,400 pixels; neither side may exceed 12,000 pixels.
- Use RGB/sRGB, with no photographer watermark, logo, or border.
-
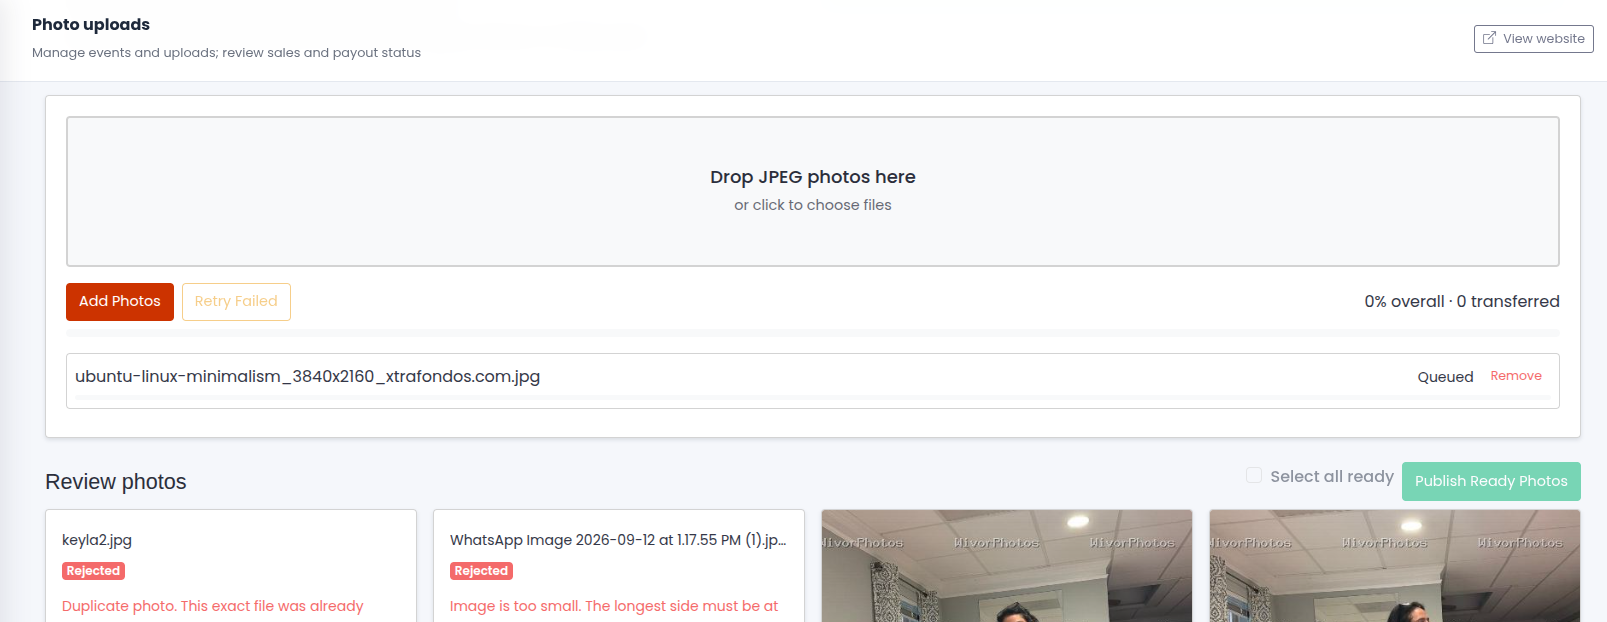
Drop JPEGs and click Add Photos
Drop your JPEG files into Drop JPEG photos here, or click the area to choose files. Check the queued files, then click Add Photos.
-
Review the processed photos
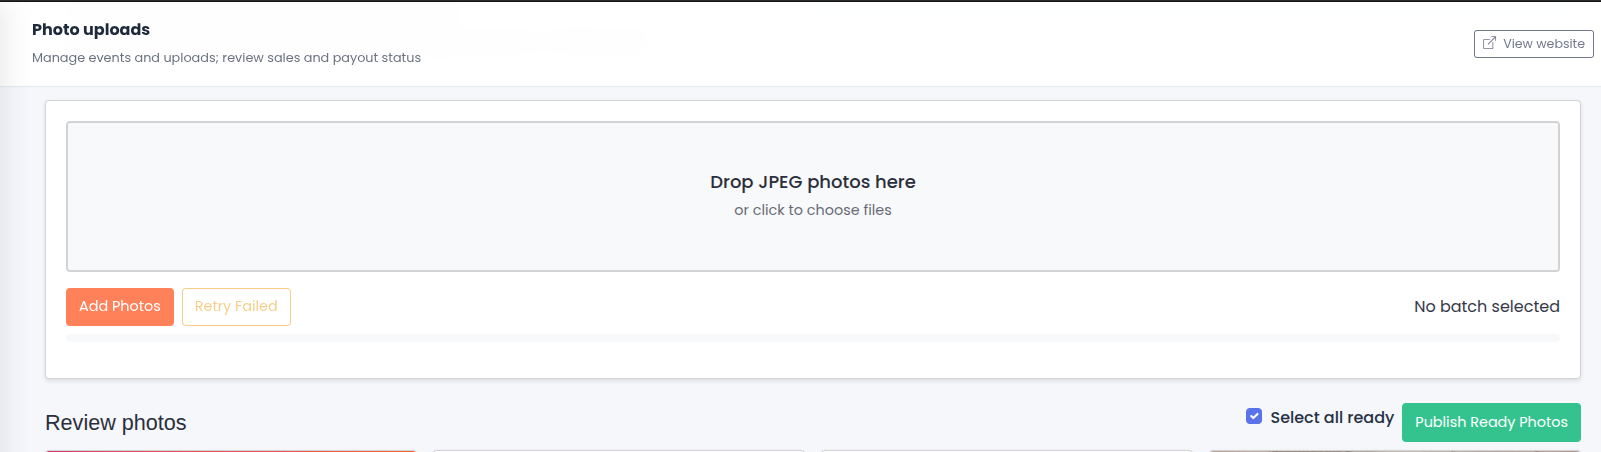
Wait for processing to finish. Review any rejection messages, then choose each ready photo or use Select all ready.
-
Publish ready photos
Click Publish Ready Photos to make the selected photos available in the event gallery.